This 120cm layout (W1200 x D500 x H500 mm) is a stunning example of controlled chaos and narrative power, perfectly encapsulating its evocative title.
"PRIMAL BURST" is not merely an aquascape; it is a dynamic event frozen in time. The composition is built around an explosive central focal point. An intricate and immensely powerful hardscape of gnarled driftwood appears to erupt from a single, bright-blue "core" in the upper-center of the tank. This "burst" radiates energy outwards and forwards, drawing the viewer's eye into its depths.
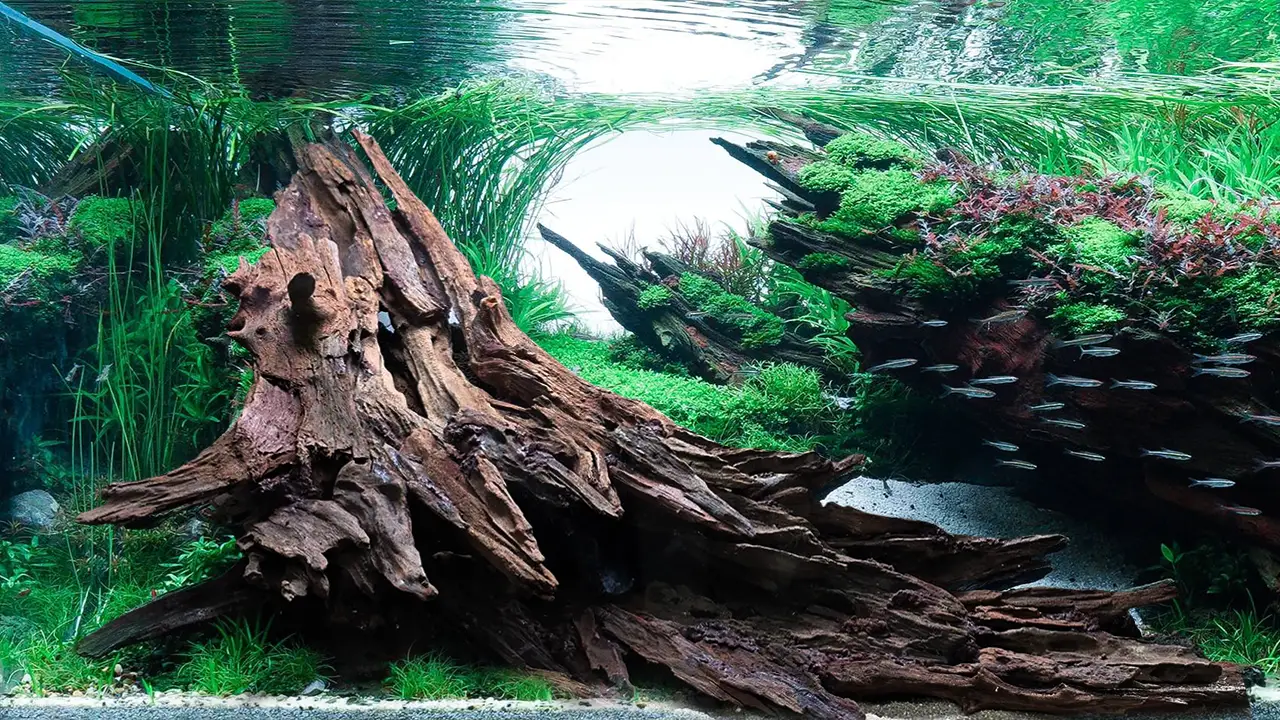
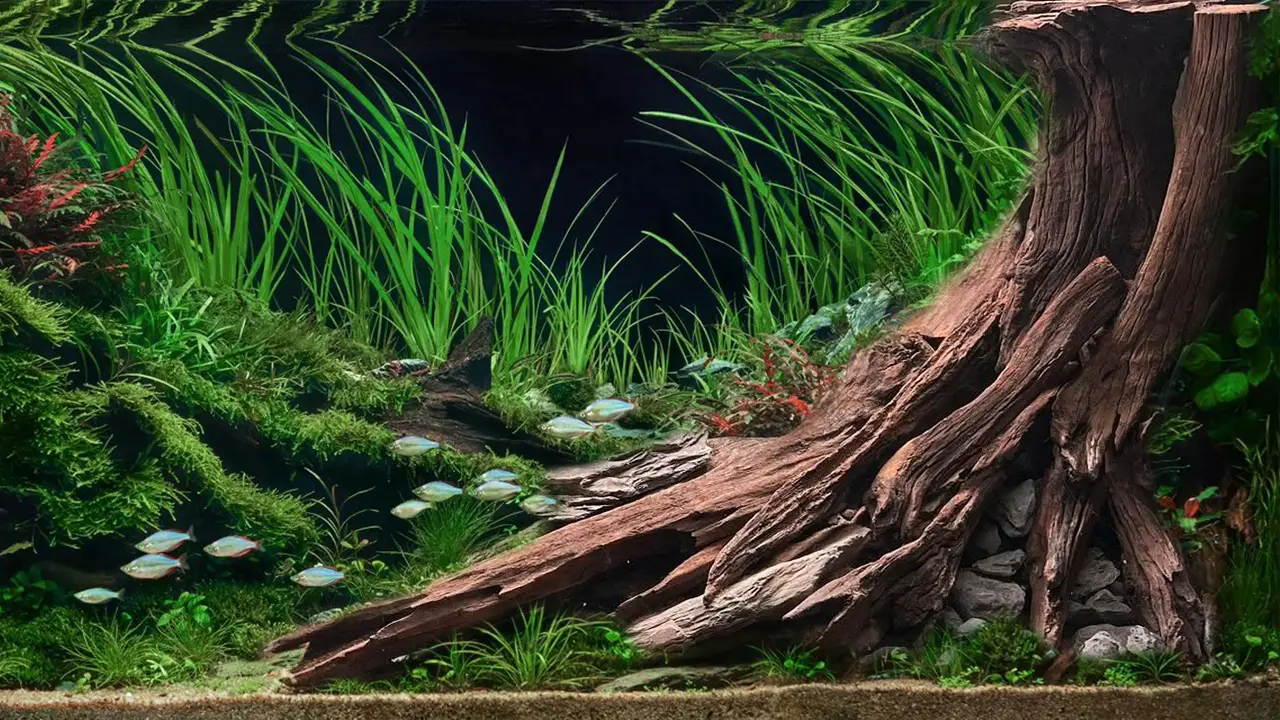
What sets Tanaka’s work apart is its masterful use of contrast, both in texture and color. The foreground and midground are dominated by dark, ancient-looking wood, meticulously covered in deep green mosses and epiphytes like Bucephalandra or Anubias. This creates a profound sense of an old, primal, and shadowy forest floor.
In direct opposition to this darkness, the background explodes in a vibrant tapestry of color. Fiery reds, bright oranges, and fresh greens from various stem plants (Rotala and Ludwigia species are likely) represent the "burst" itself—a violent, beautiful release of life and energy. This stark contrast between the dark, aged foreground and the brilliant, lively background creates an unparalleled illusion of depth.
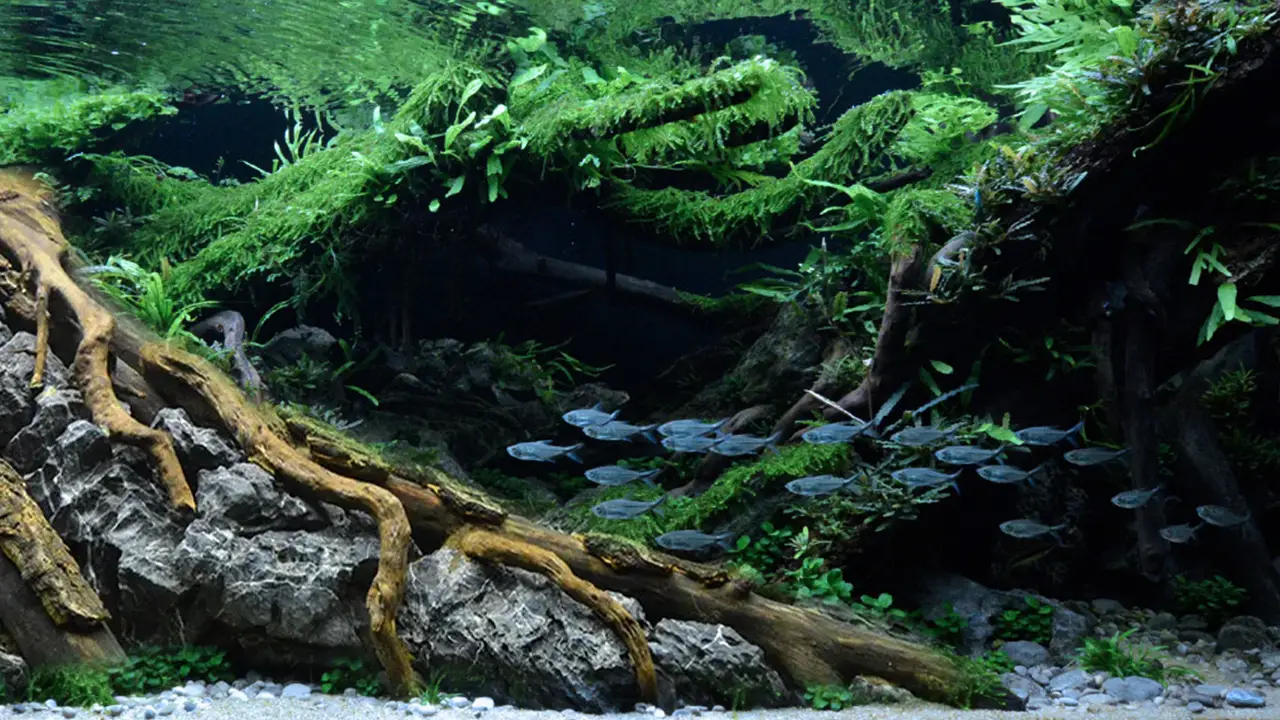
The flow of the layout is spectacular. The wood is arranged in such a way that it creates a natural "riverbed" or path, guiding the viewer’s gaze directly into the heart of the explosion. This technique not only enhances the perspective but also balances the chaotic energy of the hardscape, giving the entire piece a sense of purpose and direction. A tightly-schooled group of small fish adds a final, living element that enhances the scale and wildness of the scene.
"PRIMAL BURST" is a tour de force of technical skill and artistic vision. It demonstrates a deep understanding of composition, color theory, and natural processes. Katsuki Tanaka has not just built an aquarium; he has crafted a narrative of creation itself, earning him a well-deserved Silver Prize in the world's most prestigious aquascaping contest.
Step 1: Ideas
First, the design draft.

Your advisor is aiming for the Grand Prix, so I must create a layout that leaves an overwhelming impression! There was a time when I searched for breathtaking photos of nature for reference.

But actual scenery is already too subdued! It's not enough. Instead, I sculpted it from something more like an emotion in my head, something gushing, something raw, an outrageous abstract image.


It needs creativity, of course, but also a strong theme, originality, new elements, and an innovative approach.
Step 2: Materials
Step 3: Hardscape
Building the foundation.
First, from the empty glass canvas.

On the bottom, a mat and my self-made storage spaces in both back corners (my annual technique).

Building up the base to create a steep slope toward the back.

The space at the bottom back is scheduled to be filled with cotton (also my annual technique).

I stack relatively light, interlocking stones.

These stones will be hidden by the ground, so I stack them mindlessly.

I stuff cotton into the gaps between the stones, securing the substrate and ensuring a home for bacteria.
Based on the draft, I draw guide lines for the layout.

Place the driftwood using the guide lines on the glass surface as a guide .

Not only do we align the driftwood, but we also adjust its angle so that it casts a good shadow against the light from above . Once the position of the driftwood is decided, small stones are interlocked to secure it in place, and cotton is stuffed into the gaps.

Choosing driftwood isn't something that can be decided in one go, so you have to place it, look at it, and replace it repeatedly.
It's a very arduous task, but it's a great feeling to see the earth gradually appear before your eyes.

It was not possible to secure the pieces by simply fitting the stones together, and for the driftwood that was half-floating in the air, I used masking tape to hang it up and secure it.

If you use a hardener to hold the stones, driftwood, and other materials in place so they don't move, they won't be easy to remove when you want to make corrections, so first proceed with the overall piece in a temporary position , with a sense of temporary fixation .
The materials used are both stones and driftwood. The driftwood is placed by stacking stones, and then stones are placed on top of that. We are making progress little by little every day. It will take about two months to build the base.

I put a gardening mat underneath because I don't know when the material will slip out of my hand and scratch the glass .

The angle from the side of the tank is a steep 50cm depth! Materials like persimmons are arranged to create a sense of perspective.

Use a hardener to fix the areas that you think can be fixed . For the areas that are still temporarily fixed, fix them with masking tape or caulk so that they can be easily removed .
Create lots of small pieces to create .

Black sponges are also effective. I screw them into gaps where I want to create a strong shadow.
If you look down from above. Even if the installation is rough, such as gaps.
When viewed from the front, it is fine as long as the flow and undulation of the driftwood is expressed.

So, I don't throw away these little pieces, I keep them.

Fragments are not sold in shops.
Another important step in preparation is to separate the materials by size.

Ah, this is Bascoke . It's originally used for repairing bathrooms.

I'll be planting lots of stem plants in the background. I want to cover the soil generously, so I'm making soil pockets. I use something like riccia stone. You can also make them using gardening pots.
Fill any gaps with cotton. Soil will leak out even in small gaps, so make sure to seal the holes properly.

Gradually the framework of the foundation is being completed.

Soil pocket at the rear of the tank

Pour in the soil in large quantities.
It's roughly the equivalent of two 8-liter bags of soil.

Just pour it in.
I'll also add some solid nutrients.

The soil itself contains nutrients, but
I plan to keep it for several months, so I fertilized it.
Then, lay soil on top of it again.

The smell of the soil is also nice.
Add soil not only to the rear but also to the entire area

Something like this

Two bags weren't enough, so I added about four liters.
Angle from the side of the tank

More than half of the depth is reserved for planting stem plants.
Front angle

The white outline on the glass surface is starting to get in the way.
Cleaning brushes and other accessories can reach the bottom of the tank.

There is a gap for the brush to pass through.
This part ↓

On either the left or right side.

There is space between the driftwood to make it easier to pass the brush through.
Check the composition

I use a lot of similar triangular shapes, which makes the theme of the design very clear.
Once the soil is in, add in even smaller pieces of driftwood.

Putting small pieces together

Creating a big flow

From the back of the tank

Fresh water flows to the bottom of the tank to ensure oxygen.
Front view:
I wiped the glass surface and it's now clear and easy to see.

In the photo, the areas that look like charcoal (to create shadows) and the surface of the stone are painted black with pond ink. The stones are made of a variety of materials, so they don't have a unified look, so I adjusted the color tones to create
fake shadows . I'm cheating by painting natural materials . The paint can be removed by scrubbing with a metal brush.
As you can see, I've been sharing my creative process with you, including some seemingly sneaky methods , but in any case, creating a work is a daily process of carefully performing each step. To do this, it's essential to have a large block of time and the ability to maintain your creative motivation . If you try to work on it all at once on the weekend, or only when you feel like it, you 'll find yourself running out of time and working in a rush. This can eventually turn aquarium building, which should be a joy, into a source of stress, and you might not even be able to submit your work.
That's why I think it's important to work on it little by little every day without relying on motivation. Approach it calmly as a habit and avoid putting unnecessary strain on your mind. Keep the things you enjoy as enjoyable. This is another important creative skill that is separate from making aquariums.
Step 4: Planting
Finally, we will plant aquatic plants.

Put a little water in the tank and spray it with a spray bottle until the water is completely absorbed into the soil and wool.

Repeat the same process several times until the dry soil absorbs enough water. It not only soaks the soil but also the driftwood thoroughly with moisture.
Once the soil at the top of the tank has absorbed the water and is moist, you can start planting ground vegetation.

We will use the reliable and classic New Large Pearl Glass that we have stocked on the water .
Just pinch it with your fingers and place it.

Once it starts to dry, spray more mist with a spray bottle.
It progresses smoothly.

In the final scene, I will plant some hairgrass .

Use materials stockpiled on land. Divide it into small pieces

This is picked up with tweezers


Rice planting! Not only in the rear but also on the hillside.

Just place South American moss

Planting completed in no time!
Put the glass lid on

The mist ceremony begins!

The undergrowth is cultivated using a mist method.

During this time there will be nothing to do.
Just wait for the aquatic plants to grow...

Since there is no need to worry about moss, the light can be left on as long as you like (11 hours), as the heat emitted by the light is also necessary .
However, since the light is LED, it may not be hot enough.

It's January, the start of a new year, and the indoor temperature is not ideal for plants to grow vigorously, especially at night.
I'm worried about whether it will grow well...

So I installed a reptile panel heater at the bottom back of the tank!
It seems that the panel heater was the right choice after all.

The inside of the aquarium can now be kept at a comfortable, warm temperature . However, the top tends to dry out, so keep it hydrated with a mist spray.

Healthy roots!

steadily!
It looks like it's growing nicely. It's getting fluffy.

Going well.

About a month passed.

Misting management will also continue.

I think the moss is also attached to the driftwood.

The New Large seems a little damaged, but it's probably fine. It will revive if you add water.
It's getting even more lush.

A piece of driftwood painted white, or perhaps a root. I placed it slightly off-center. The aquatic plants switch has been turned on and they are thriving!

The green is exploding!
It's finally time to pour water in. (Water pouring ceremony)

Insert the hose directly into the storage space on the back
The water is supplied from the tap through a filter.

Water injection is a stressful task every year.
Will adding water cause the material to float or destroy the shape?

The water filled up to the top without any problems.

Bubbles! beautiful!
Now we will start planting stem plants.


The stock of stem plants is ready to go.

Green, red, and aquatic plant paints are eagerly awaited.
Ludwigia sp. Super Red is a reliable red

If I refrain from trimming and keep them above water, they seem to grow even redder and healthier.
I will plant stem plants

Crunch with tweezers!
Planting with a focus on creating a band of color

It's a fun job
A vibrant display of color appeared in the tank that had been green for months.

red obi
Back of the tank

Red Myriophyllum, Rotala bradycephala, Ludwigia sp. Super Red, 3 species of red aquatic plants

Rotala nantheans and others
Australian Dwarf Hydrocotyle with round leaves that add an accent

In the gaps between the driftwood, there are Anubias nanaputi and Buse

Growing up fast
Repeat the trimming several times, and frequently cut the moss with scissors.

It creates a sense of density and colony.
Angle seen from above

In April, one month before the deadline, I had a lot of business trips to the countryside, so I left it alone for 17 days.

The glass surface is covered in patches of moss !
There were no maintenance organisms included. Spread as much as you want!

There's also blue-green algae .

The water quality is rich in nutrients

Just wipe it off
There was no sign of damage to the aquatic plants, so I was relieved.

We also trim any overgrown moss.
Clean the glass surface and feel refreshed

It looks good from a distance! I can see the whole picture now.
After the extensive trimming, there's a film of oil!

It's ok, it will go away soon.
We've reached the finishing stage. From now on, we'll add multiple layers to make the piece even more impressive.

You will see bands of different colors and shapes depending on the type of aquatic plant , but even if the colors are different, they tend to have similar brightness and result in flat color bands .
Therefore, by adding solid black or bright white, the contrast will increase and the sense of layers will be further enhanced. There is a solid black shadow at the bottom front of the tank, so we will apply white sand here to create contrast.

White driftwood and cotton are inserted into the bands of driftwood and its black shadows to create multiple layers .
Thin branches painted white were inserted into the grass-colored band in the background to add a vibrant touch of color.

This is the first time I've tried this technique. (It's simple, but it's effective!)

This is an expression that is not very familiar in real natural landscapes . (It may be good or bad!)
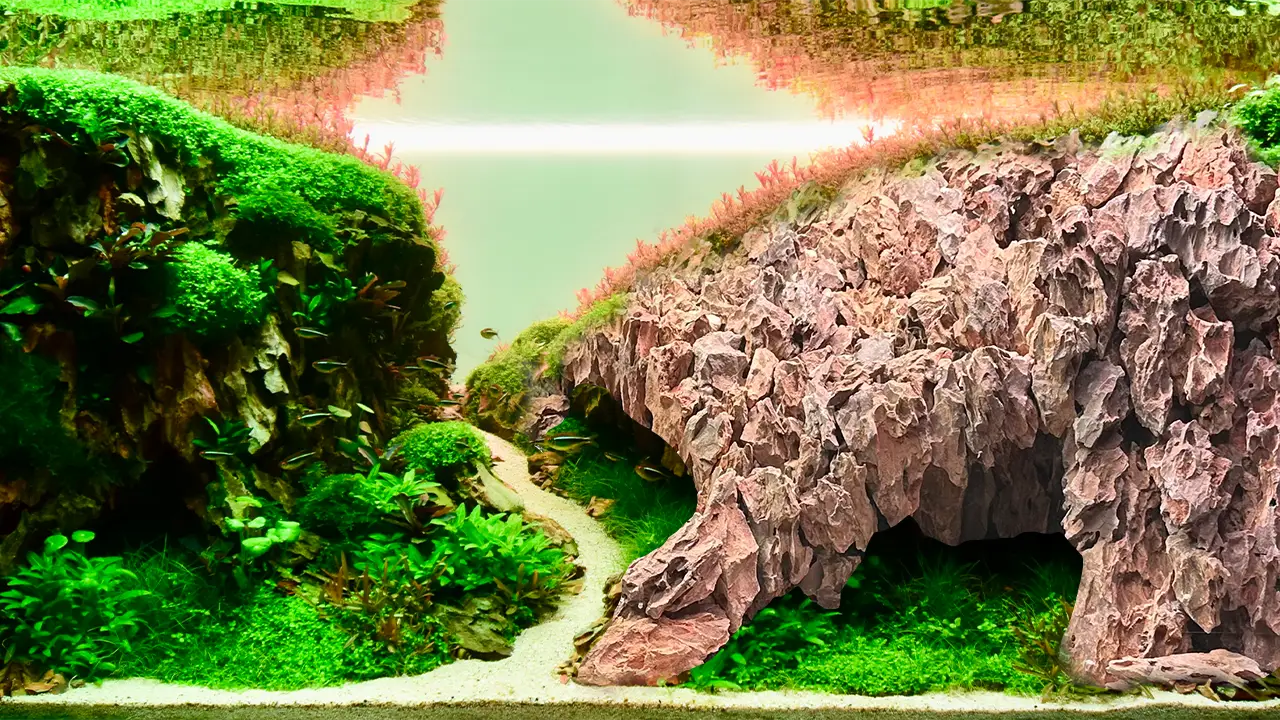
I used a pink pebble belt in my previous project , and I'm using it again this time. I made cuts in the belt and inserted cotton so that the gravel would stick tightly to the undergrowth.

After laying the pink gravel

Blend it in with white sand.

Check from the front

The previous work also had a layout that left an impression of multi-layered colors.
This time, the layout continues to retain its distinctive features, but also brings to the forefront the dynamic flow of the sculptures.

A burst of wild forms and vibrant colors!

Title: "Primal Burst"
There is a risk that overly tidy expressions like bands of color and tulip fields may be judged as "unnatural"
Step 5: Final
The water quality has stabilized and it's time to add fish . This year I bought about 40 new orange glitter danios , my favorite fish , so I may have about 80 in total.

Maintenance for about a month, normal management

We even managed to get to the shoot !

This time, the photographer, Akinori Ikeda, also came. Thank you to Ikeko and Kazue! Kenyu Sakai also came all the way from Hokkaido

Shooting completed! There are also the usual unnecessary cuts!

Katsuki Tanaka / Japan
Website: seikasuisoubu.design




Leave your comments